I have tested this how-to with the following cameras:
- QuickCam Pro 9000 (model 960-000048, SKU 97855 04491)
They all work with the uvcvideo.ko kernel module. Problem right now is that module does not come with the kernel source (yet), so for now we have to build and install the driver out of tree. I have packaged the driver in to RPM form so you can easily build and install it on your computer.
Before you mess with drivers and software, plug your new camera in to an available PCI port. Type
/sbin/lsusbat the prompt. Look for the device ID with 046d: in it. Write this down for future reference. It might be useful. For the QuickCam Pro 9000, I wrote down 046d:0990.If your camera is not in the list above, try it anyway with the steps up through installing luvcview. If it works, email me and I'll add it to the list.
This is sort of annoying, but not that bad. First, figure out your IP address. Start a terminal window (Applications->System Tools->Terminal) and then type:
/sbin/ifconfig eth0At the prompt. Here's what it might look like:
eth0      Link encap:Ethernet  HWaddr 00:0C:F1:5C:EE:FC
          inet addr:192.168.0.2  Bcast:192.168.0.255  Mask:255.255.255.0
          inet6 addr: fe80::20c:f1ff:fe5c:eefc/64 Scope:Link
          UP BROADCAST RUNNING MULTICAST  MTU:1500  Metric:1
          RX packets:484176 errors:1 dropped:0 overruns:0 frame:0
          TX packets:466872 errors:0 dropped:0 overruns:0 carrier:0
          collisions:0 txqueuelen:1000
          RX bytes:157317103 (150.0 MiB)  TX bytes:43110610 (41.1 MiB)
          Interrupt:11 Base address:0xc000 Memory:c0214000-c0214fff
Lots of text there, but we can ignore most of it. Look at the second line that begins with inet addr:. The number after it (192.168.0.2 in my case) is what we want. Write that number down. Type 'exit' or click the X button to close the Terminal window.
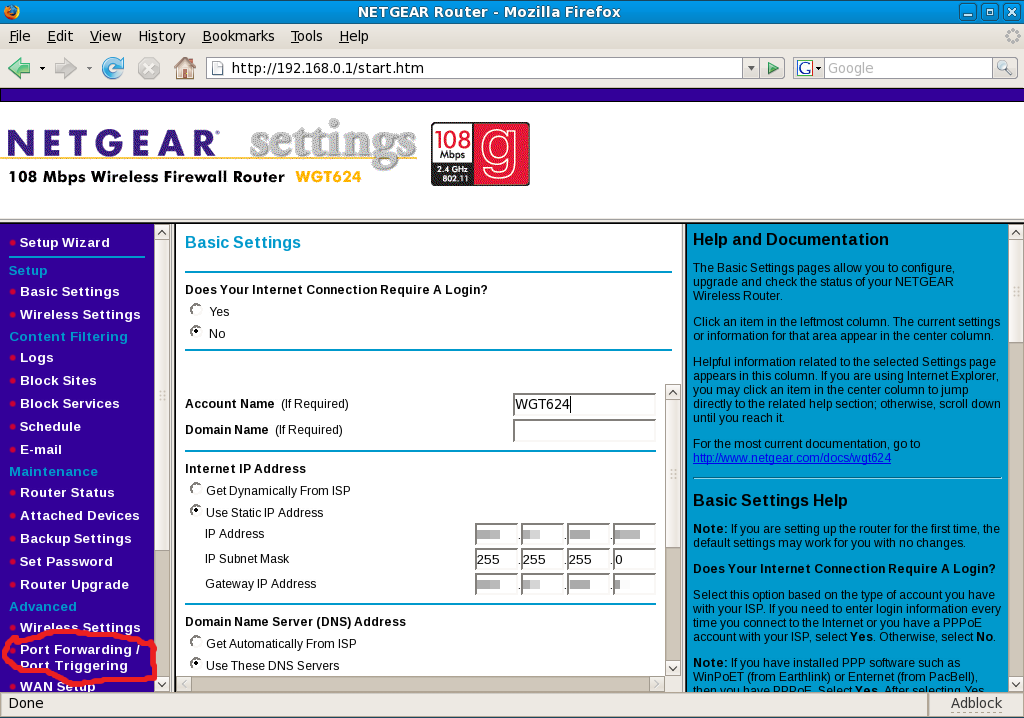
Now open your web browser and log in to your router configuration page. Each one is different, but we are looking for the port forwarding section. Here are some sample screen shots of what the port forwarding section looks like on my router configuration.
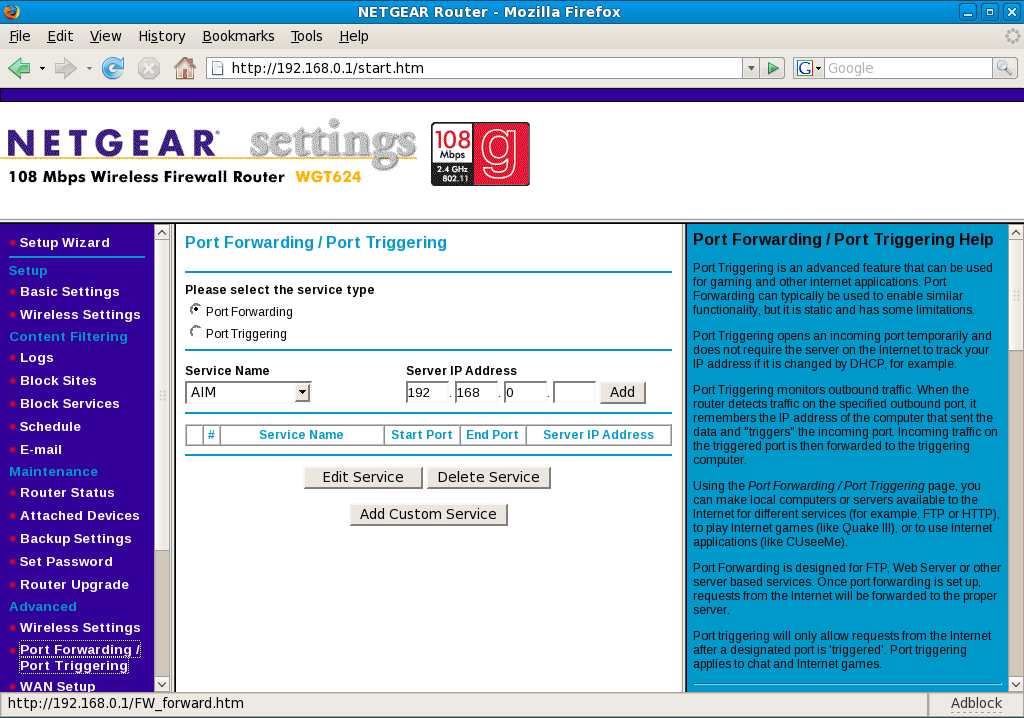
Main configuration screen. Port forwarding/triggering screen. Video conferencing requires that your computer be able to accept incoming connections, which is in direct conflict with the concept of things like firewalls. This is why we want to do port triggering from your router. We can forward the listening ports to your computer and all will be well.
So what ports do we trigger? These:
TCP port 1720
TCP ports 30000 to 30010
UDP ports 5000 to 5100
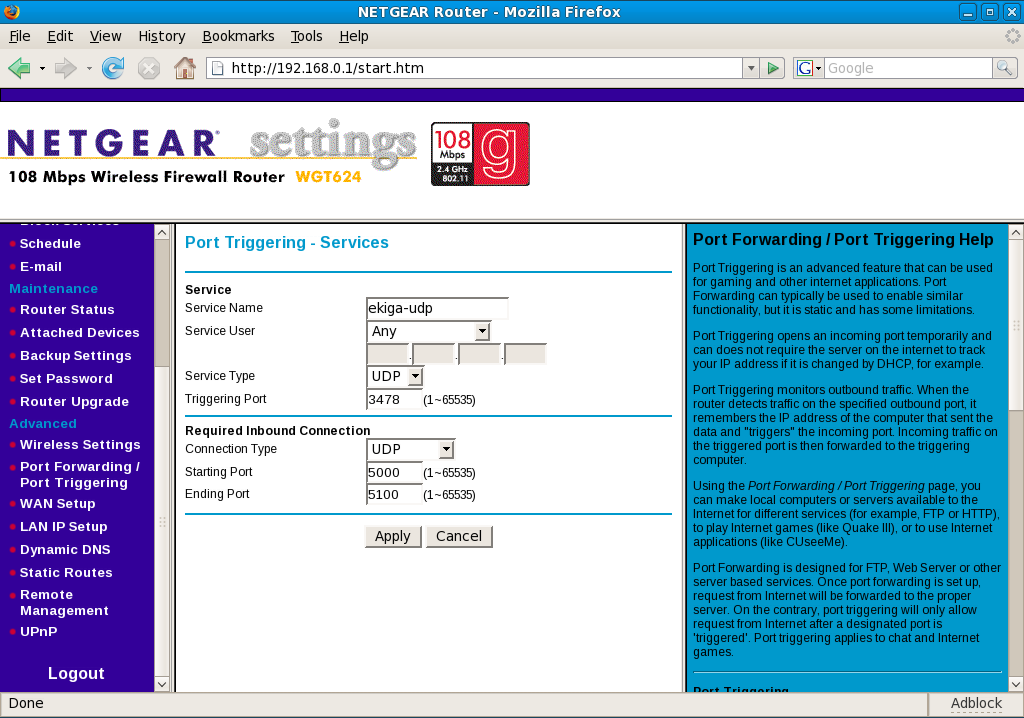
Follow the instructions with your router to set up port triggers on port 3478 for TCP and UDP and opening the ranges above. It is not necessary to set up a port trigger for TCP port 1720. On my router configuration, it looks like this:
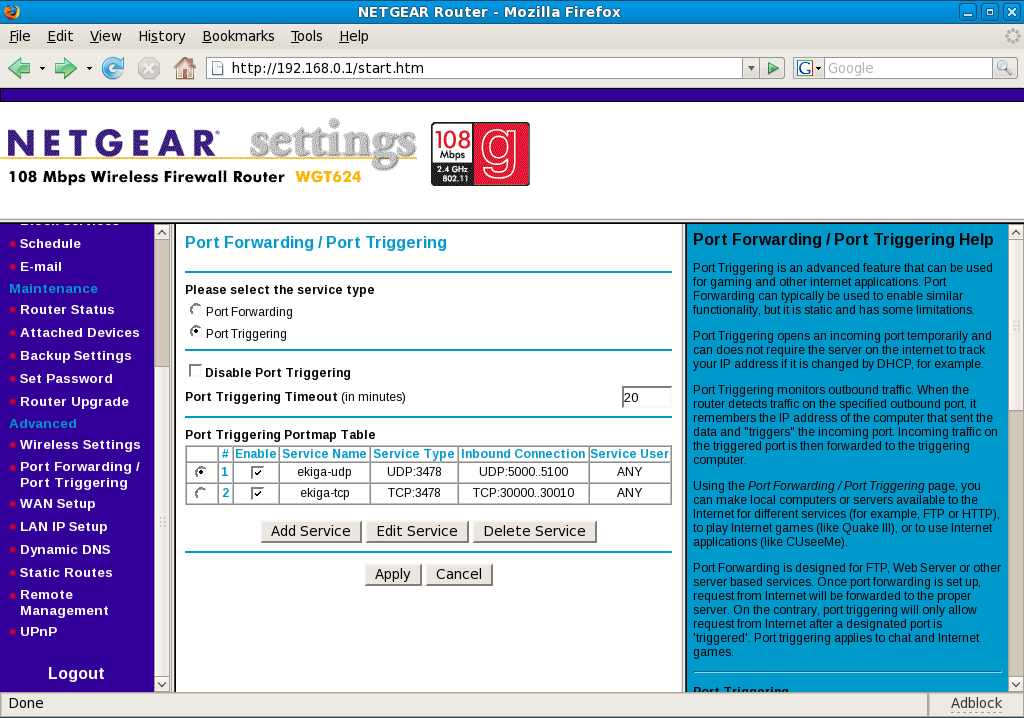
Adding a port trigger. Completed port triggering. For more help with this step, see the Ekiga wiki page for configuring video conferencing behind a router.
Save your changes on the router configuration screen and log out.
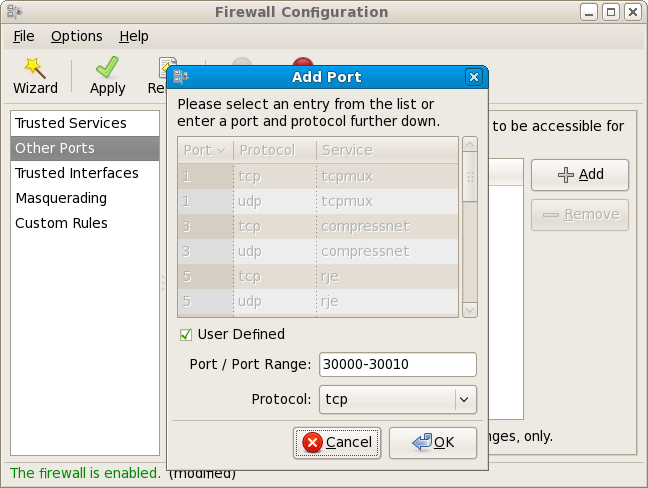
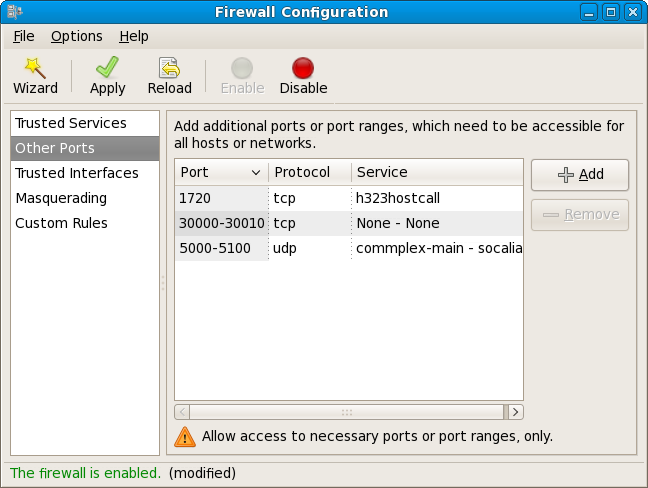
IMPORTANT: On Linux systems, we have local firewalls, so we need to open the above ports so they can get in to the computer. Open the System menu, choose Administration, and finally Firewall. Choose the Other Ports panel and add the above ports and port ranges to the list. Like this:
Adding the H.245 range. Completed port listing. Do not worry about the description in the Other Ports listing. Click the Apply button on the toolbar and exit the application.
The uvcvideo.ko kernel module does not come with the Fedora kernel. So for now we have to build it out of tree. It's pretty easy to do. I have prepared a source RPM file that you can build locally. Follow these instructions:
- Open a Terminal window.
- Create a build tree for RPM packages:
$ mkdir rpmbuild

$ mkdir rpmbuild/{BUILD,SOURCES,SPECS,RPMS,SRPMS}

$ echo '%_topdir %(echo $HOME)/rpmbuild' > ~/.rpmmacros
- Download and install source RPM:
$ rpm -Uvh http://dcantrel.fedorapeople.org/quickcam/kmod-uvcvideo-0.1.0-1.src.rpm
- Build the package:
$ cd rpmbuild/SPECS

$ rpmbuild --target=$(/bin/arch) -ba kmod-uvcvideo.spec
- Install the resulting package1:
$ sudo rpm -Uvh rpmbuild/RPMS/$(/bin/arch)/kmod-uvcvideo-0.1.0-1.$(/bin/arch).rpmIf you get notices about missing build requirements, use yum to install them and then run rpmbuild again. For example, you will need to do yum install kernel-devel before you can build this package.
NOTE: When you upgrade your kernel, you will need to follow these instructions again to rebuild the kmod-uvcvideo kernel module under the new version.
Having a local test program to make sure the camera is working correctly is useful. I use luvcview for testing, so I suggest you install it as well. Make sure you have completed steps 3a and 3b from above, because we need the local RPM build environment to install luvcview.
- Download and install source RPM:
$ rpm -Uvh http://dcantrel.fedorapeople.org/quickcam/luvcview-20070512-1.src.rpm
- Build the package:
$ cd rpmbuild/SPECS

$ rpmbuild -ba luvcview.spec
- Install the resulting package1:
$ sudo rpm -Uvh rpmbuild/RPMS/$(/bin/uname -i)/luvcview-20070512-1.$(/bin/uname -i).rpm

Password:
With luvcview installed, plug your camera in and launch it with this command:
$ luvcviewIf everything is working, you should be looking at yourself in a small window. Move around and jump up and down. If you are moving in the camera window, we can move on to setting up the video conferencing software.
We're now up to the point where we can install software that actually comes with Fedora. We will be using Ekiga for video conferencing. Don't ask me how to pronounce it, it's not really important. Install the software:
- Open a Terminal window.
- Install the software1:
$ sudo yum install ekiga

Password:
Now run the software and start the painful process of configuring it. Select IP Telephony, VoIP and Video Conferencing from the Applications->Internet menu. This will run Ekiga. On the first run, it will start the configuration assistant. If you have run it before and want to start the configuration assistant again, select Configuration Druid from the Edit menu.
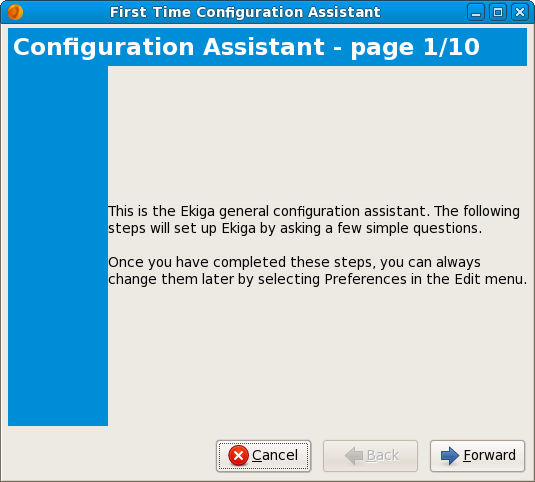
The Configuration Assistant consists of 10 windows where you fill in the blanks. The first one you see is this:
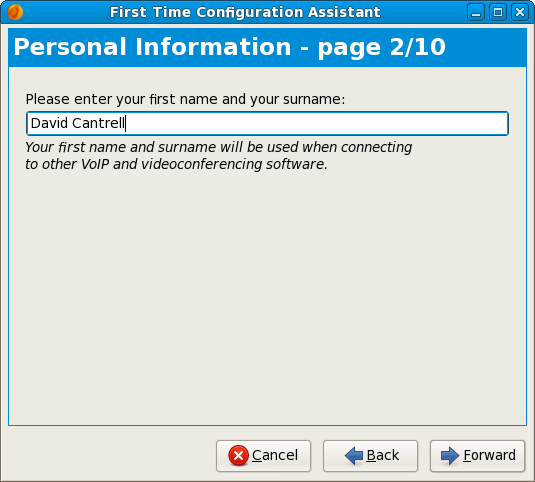
Click Forward to proceed to the Personal Information screen. On this page, enter your first and last name.
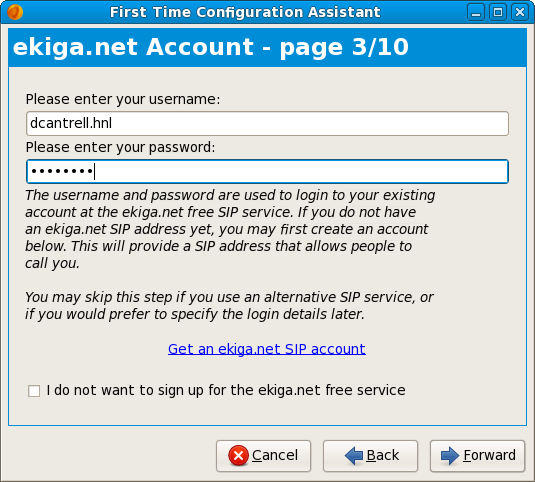
Click Forward to proceed to the ekiga.net Account screen.
This screen is optional for our purposes. Ekiga can do a lot of stuff, including operating as a SIP client. SIP is what VoIP services use to provide telephone service over the Internet. For the juicy details, consider reading the Wikipedia article. For our purposes, we'll be using H.323 for video conferencing. This is another complex communications protocol that is explained in another Wikipedia article. So what does all of that mean for this screen in the configuration assistant? It means you can check the box labeled I do not want to sign up for the ekiga.net free service and then click Forward to proceed to the Connection Type screen.(28-Dec-2007) Actually, we do want to create the free ekiga.net SIP account. We want point-to-point video conferencing and SIP is a decent choice for that. Click the link/button labeled Get an ekiga.net SIP account. It will open a tab in your web browser or open the web browser and will take you to http://www.ekiga.net/user/index.php. Click the Subscribe! link in the lower right corner to go to the sign-up page. Fill in the blanks and then take the username and password you sign up with back to Ekiga to complete the screen. The username can be anything, but I like the format of:
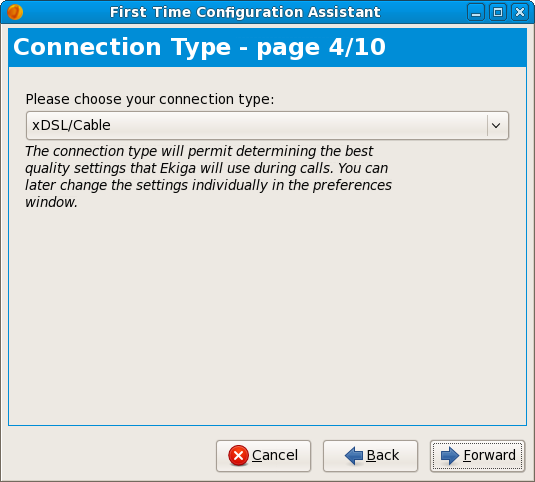
first name initial + last name + '.' + airport codeThat seems like a mouthful, but it means mine becomes dcantrell.hnl. The advantage here being you can tell my location with just the username. If you want to follow my nerdy username scheme, click here to look up your three letter airport code if you don't know it. Once you have entered your username and password, click Forward to proceed to the Connection Type screen.We all have DSL or cable modems, so select xDSL/Cable from the drop down box and then click Forward to proceed to NAT Type page.
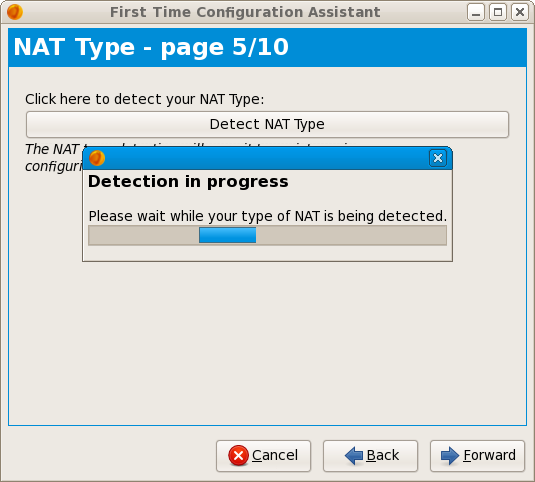
Detecting the NAT Type.
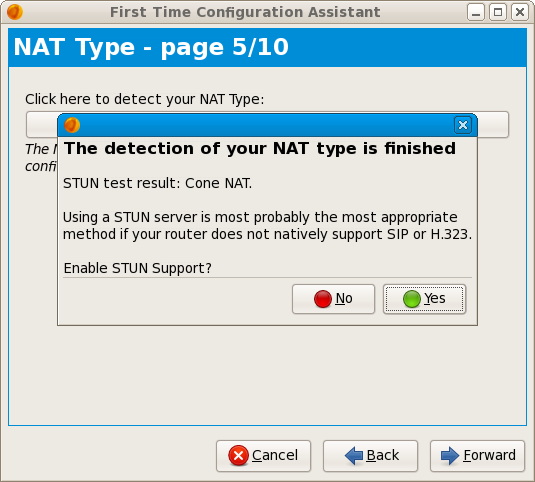
Successfully detected CONE NAT.When you get to the NAT Type page, Ekiga will start scanning for what type of NAT you have. This is where the port forwarding and firewall modification steps earlier will come in handy. Ekiga needs to pass a number of internal tests in order for it to work correctly. If things are configured correctly on your router and firewall, Ekiga will tell you that you have a Cone NAT or no NAT at all. If you are Blocked or have any other type of NAT detected, you will need to go back and make sure your router and firewall settings are correct. This step here is probably the single most annoying aspect of configuring video conferencing. Once Ekiga detects a CONE NAT, click Yes to enable STUN and then click Forward to move on to the Audio Manager screen.
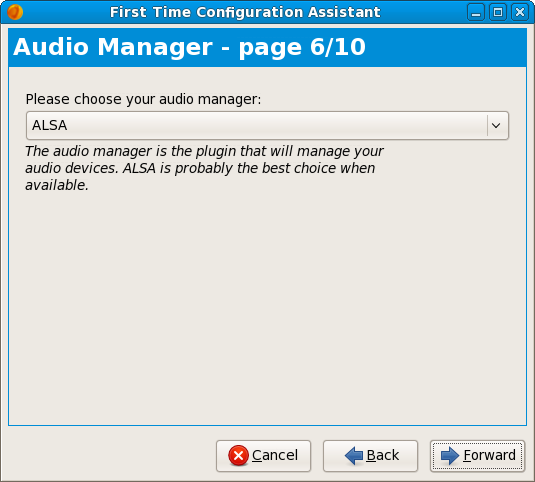
The only choice for the audio manager should be ALSA. This is fine, so we can click Forward to move on to the Audio Devices screen.
On the Audio Devices screen, you can leave both the output and input devices set to Default. Click Forward to move on to the Video Manager screen.
On the Video Manager screen, select V4L2 from the drop down menu. Click Forward to move on to the Video Devices screen.
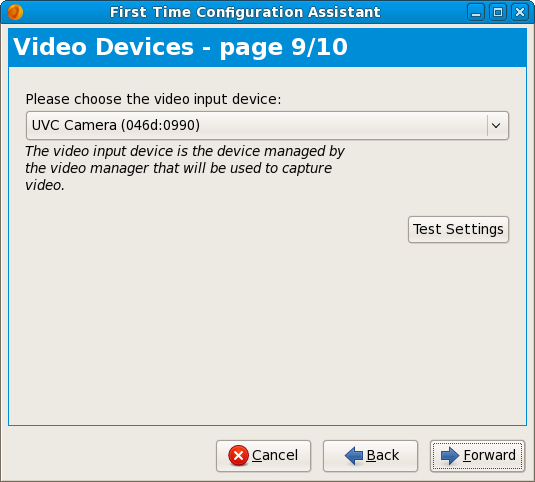
You should only have one camera attached, so make sure it is selected from the drop down menu on the Video Devices screen. Click Forward to move on to the last screen.
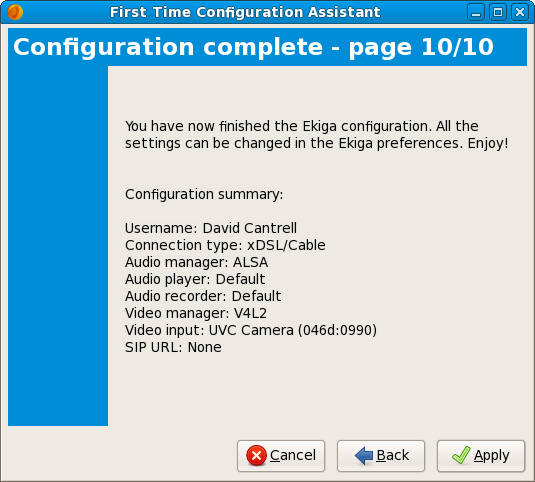
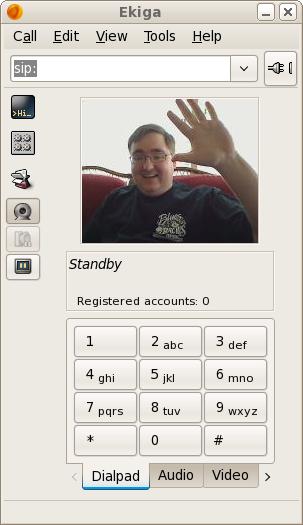
On the last screen, verify the settings and click Apply. We're done setting up this program. Now we can use it. Here's me in Ekiga:


Coming soon. I'm not quite there yet.